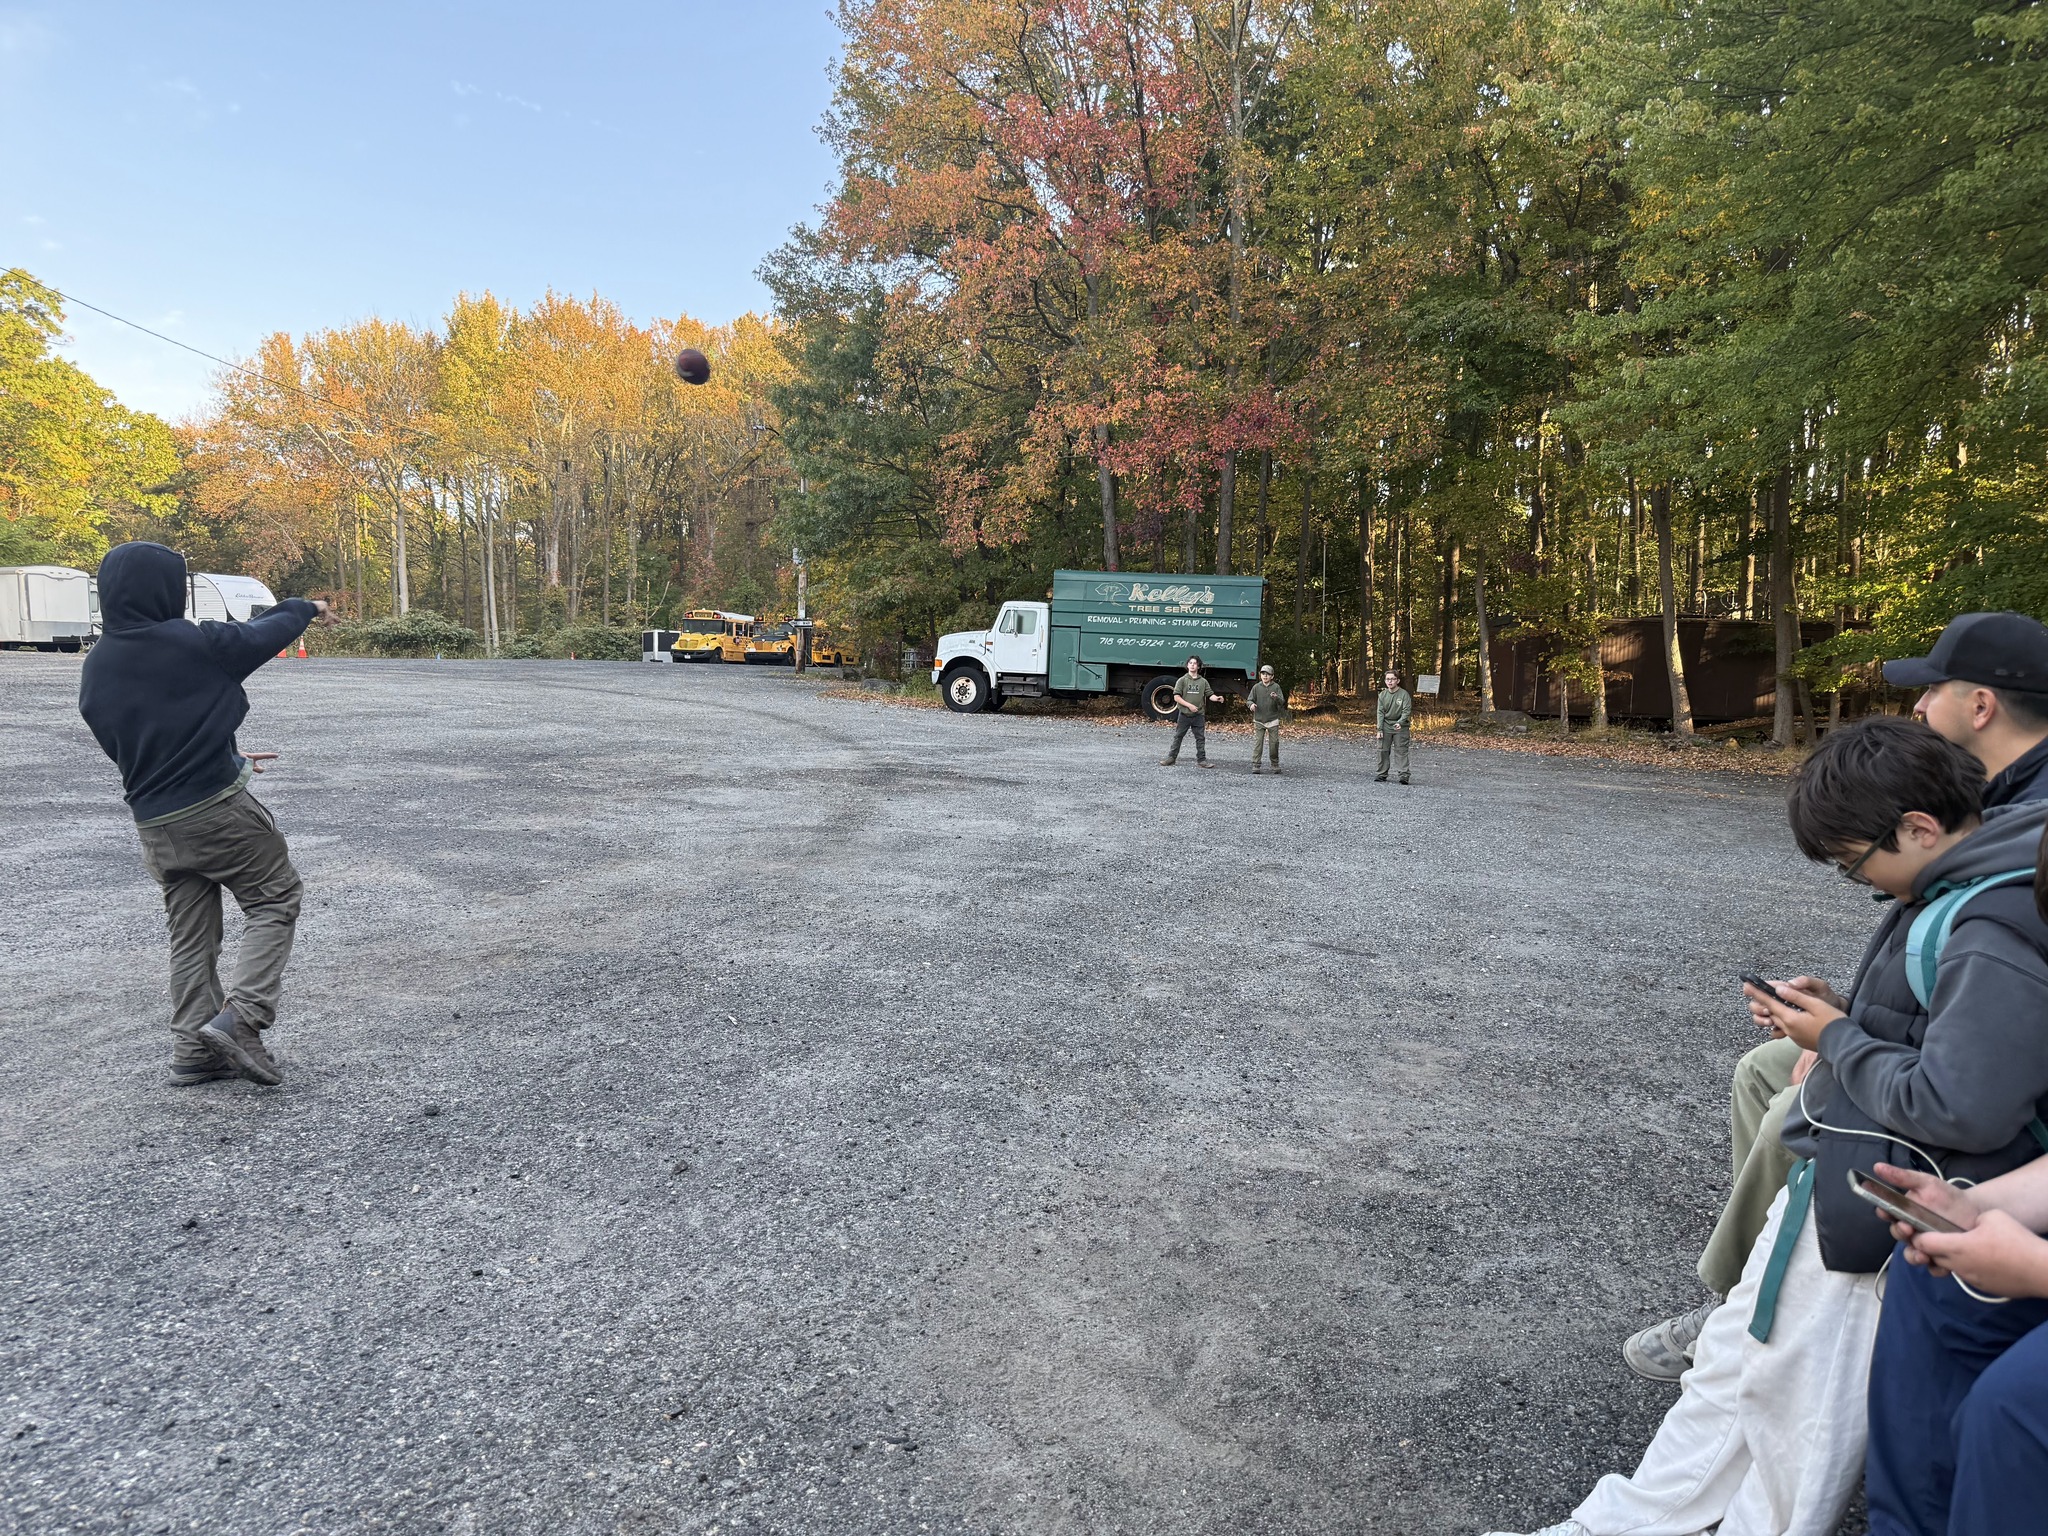
01.23.2026-01.24.2026
─
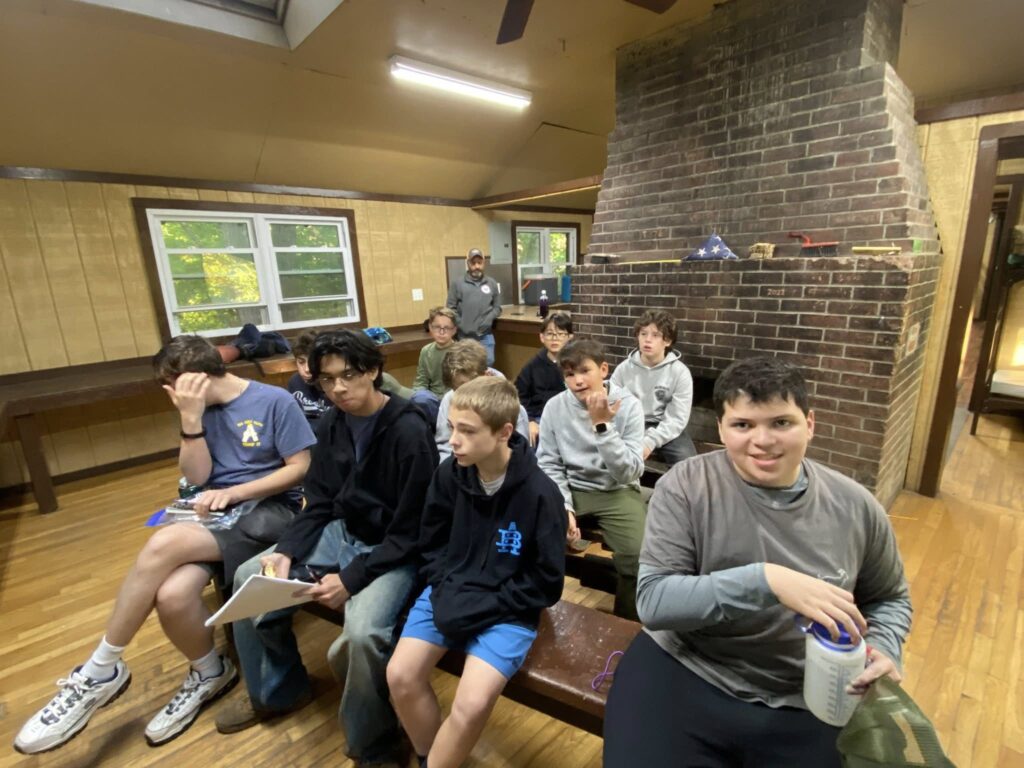
Agenda
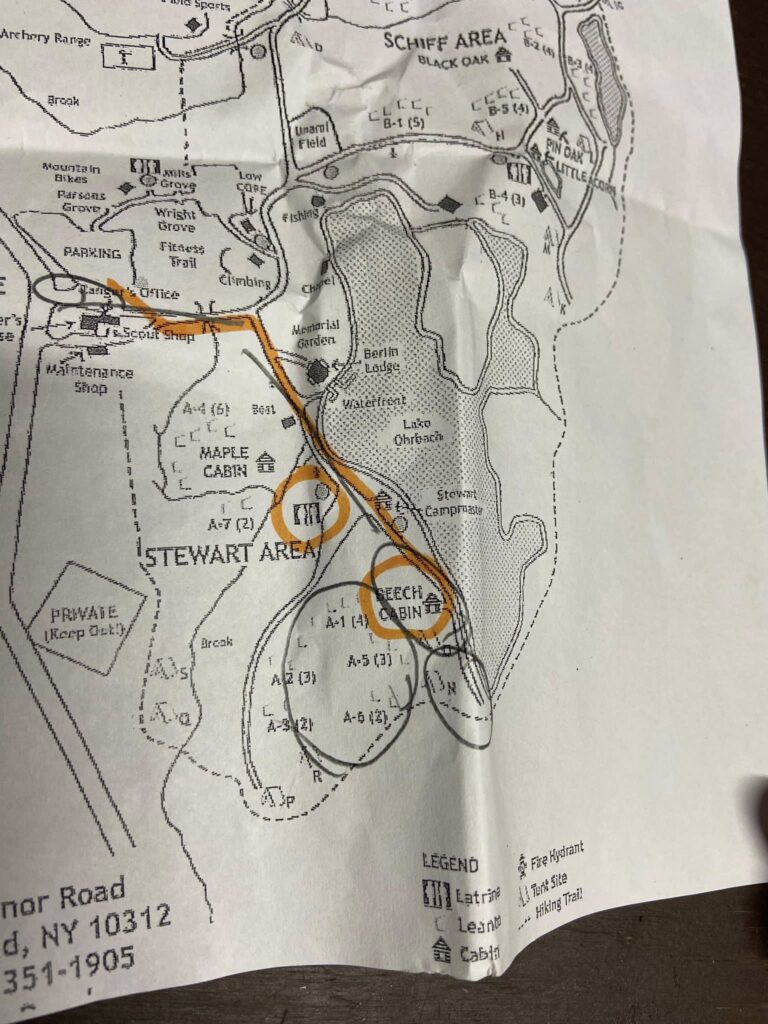
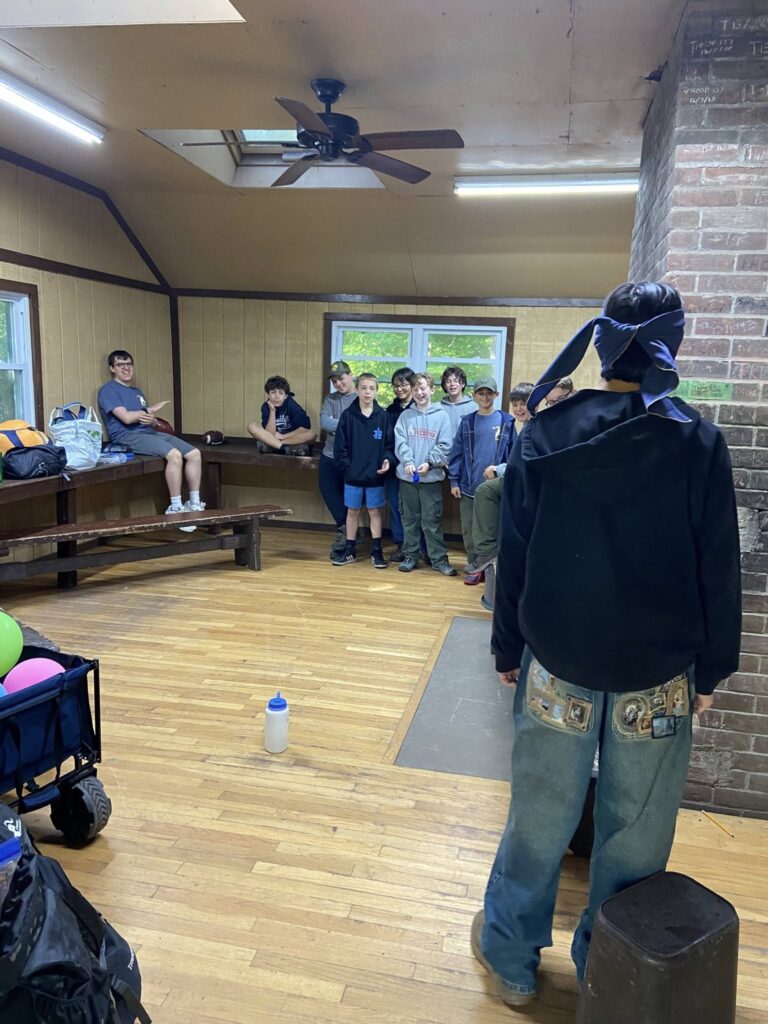
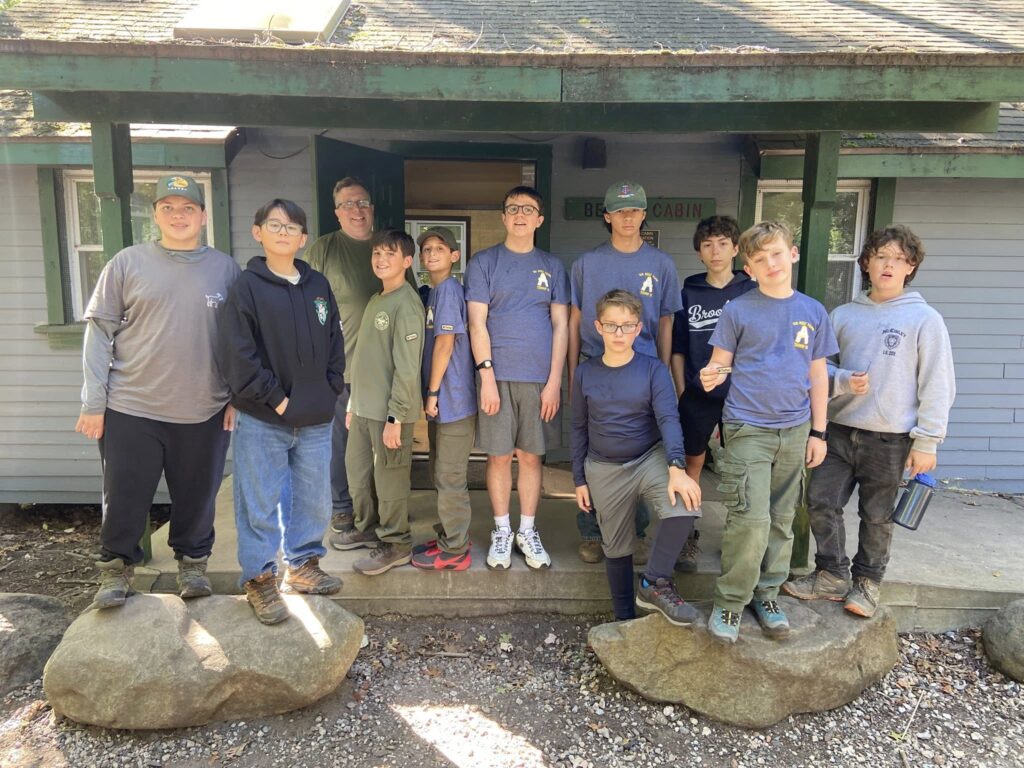
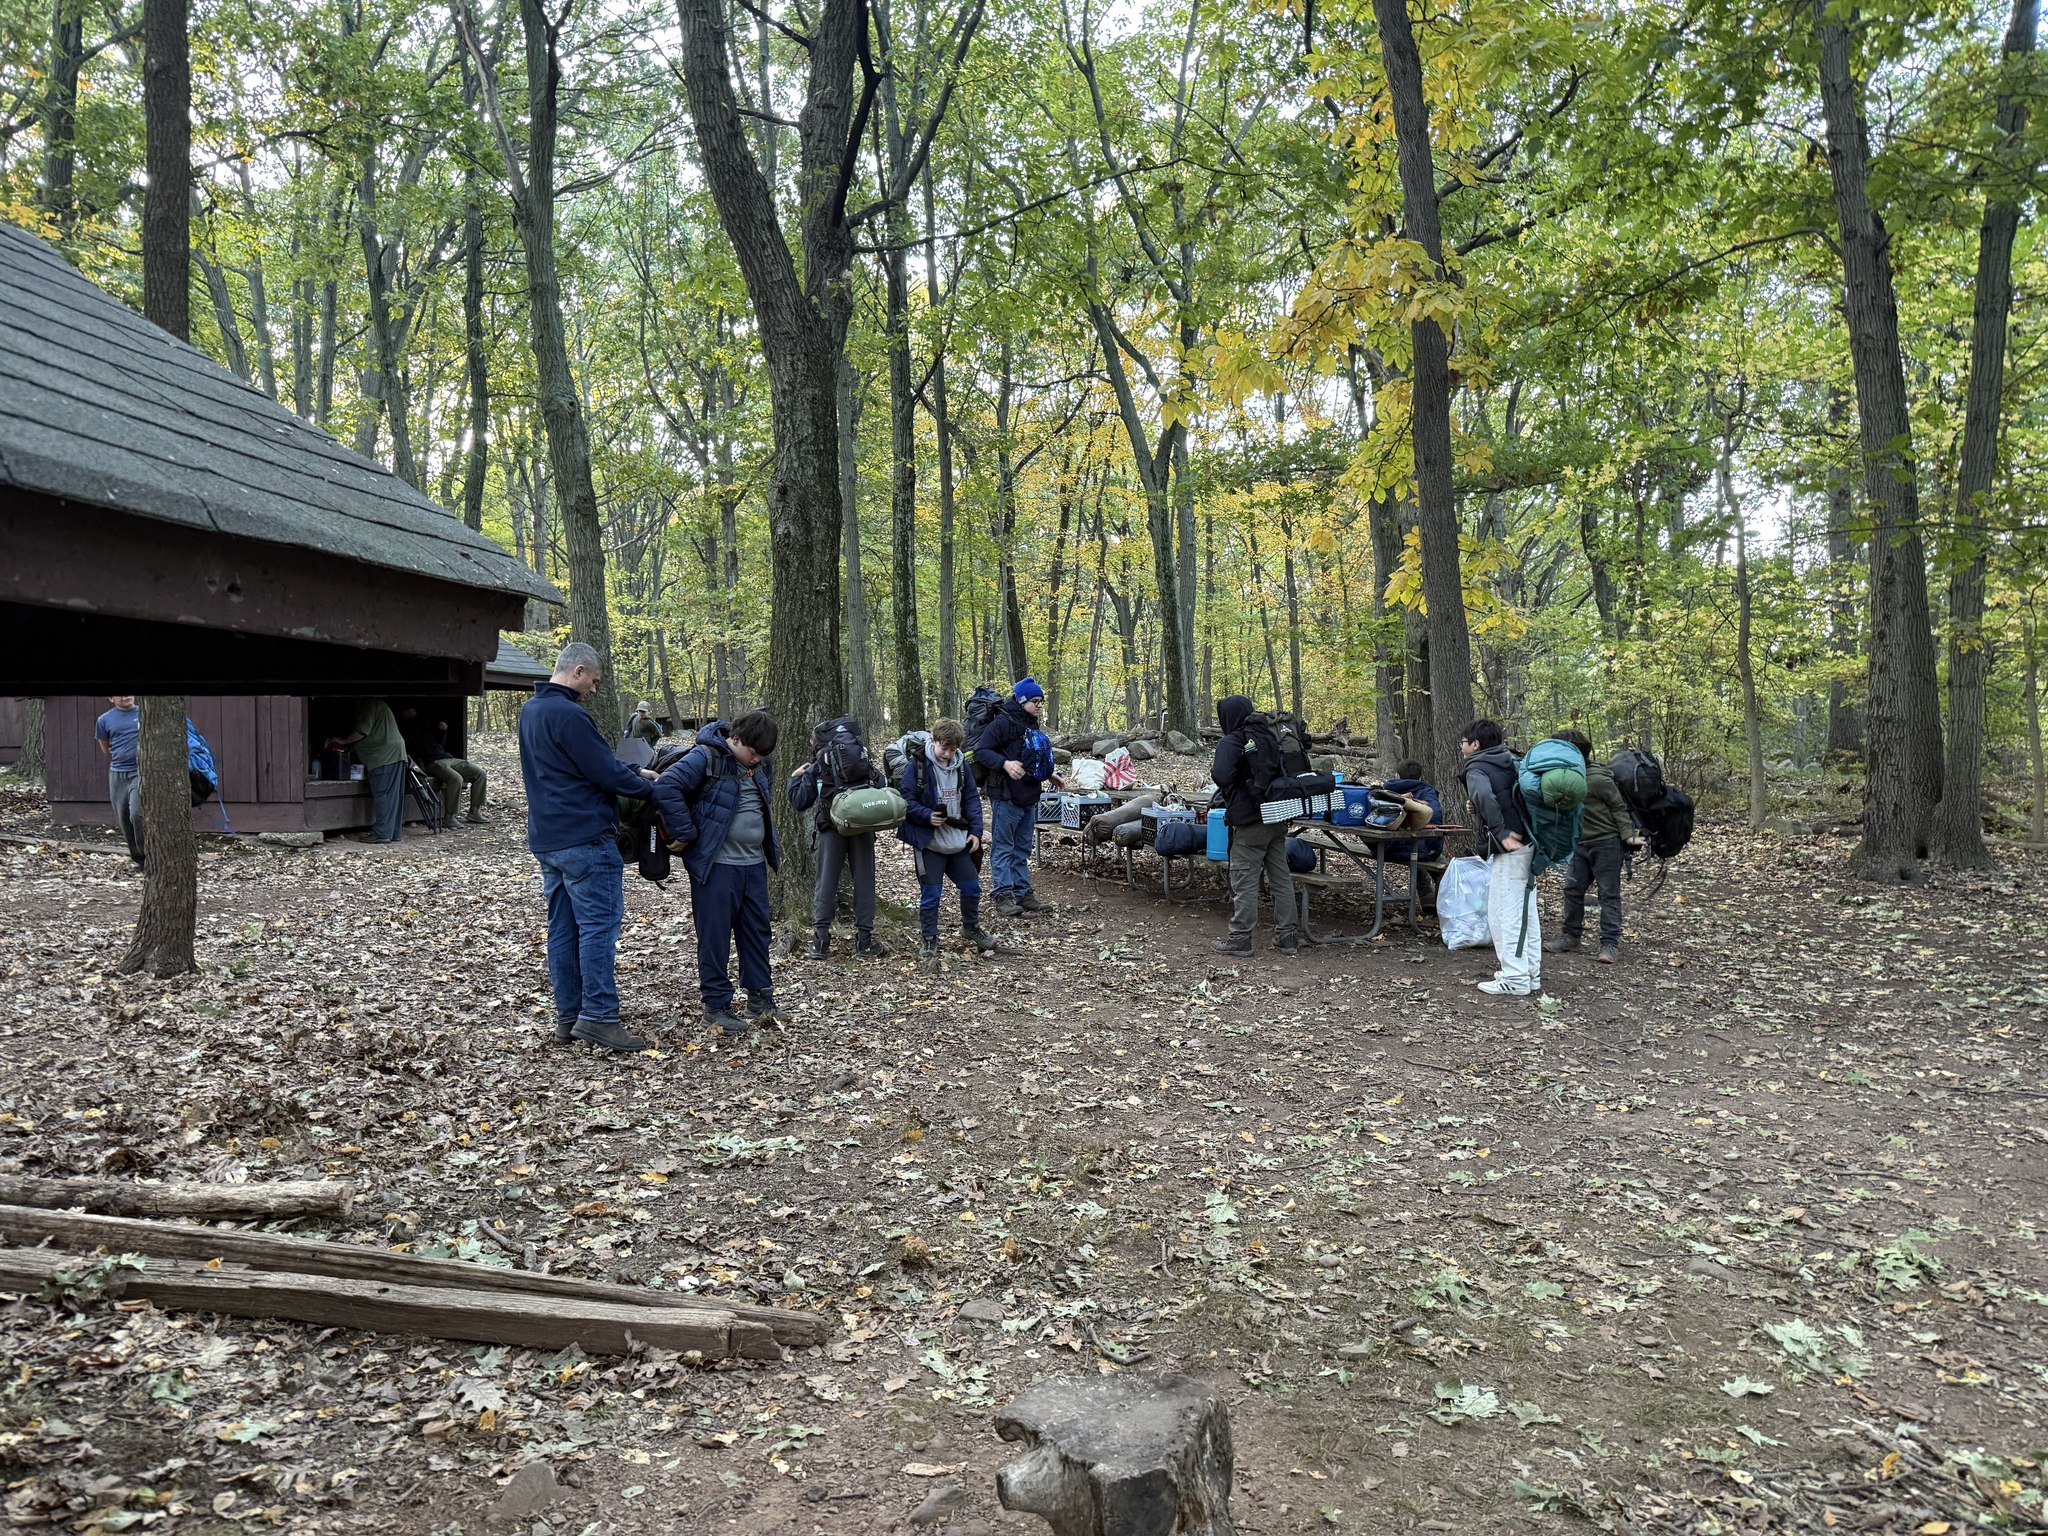
Unpack and set up camp
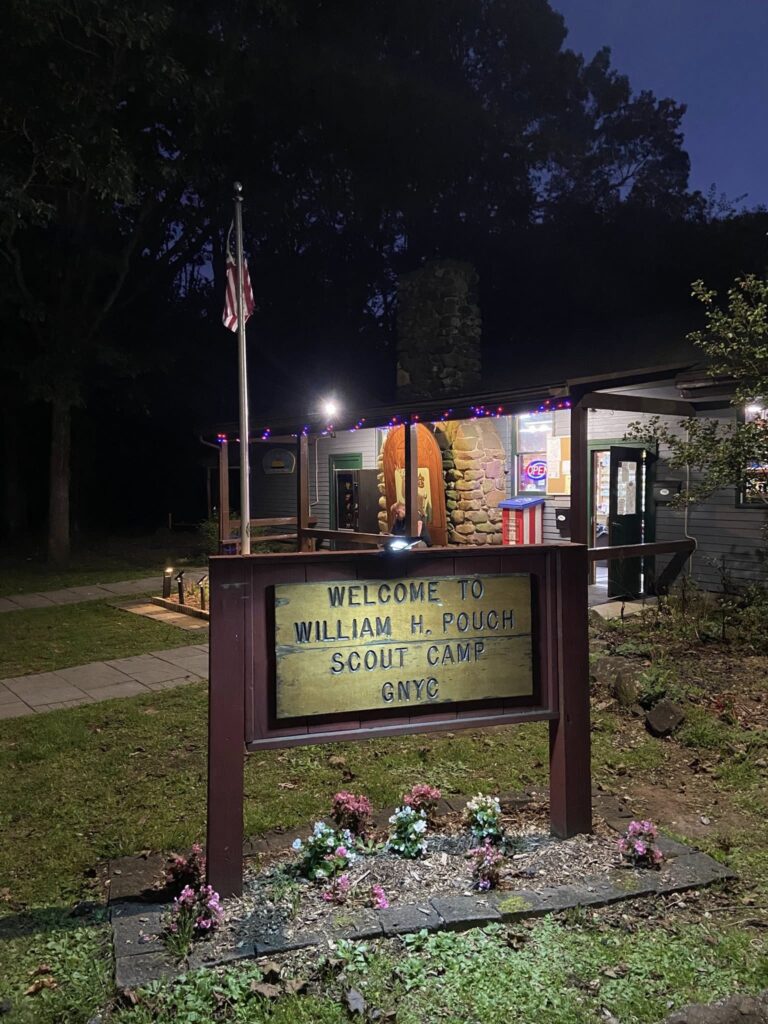
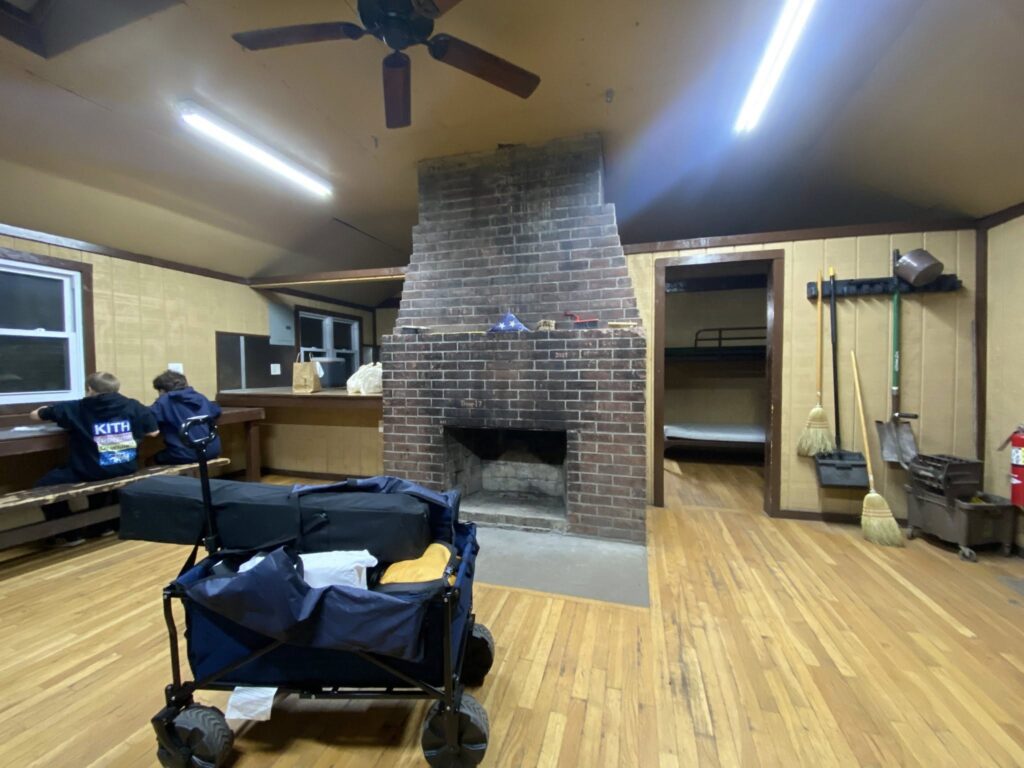
- Since the drive to Camp Wakpominee took more than four hours, all Scouts left directly from their homes, rather than meeting at the St. Anselm’s Parking Lot. Due to the capacity of the cabins, our troop was spread out across two cabins. After setting up our cots, the adult leaders began to prepare breakfast, since we needed to wake up at 6:00 a.m. to prepare for the following day’s competition.
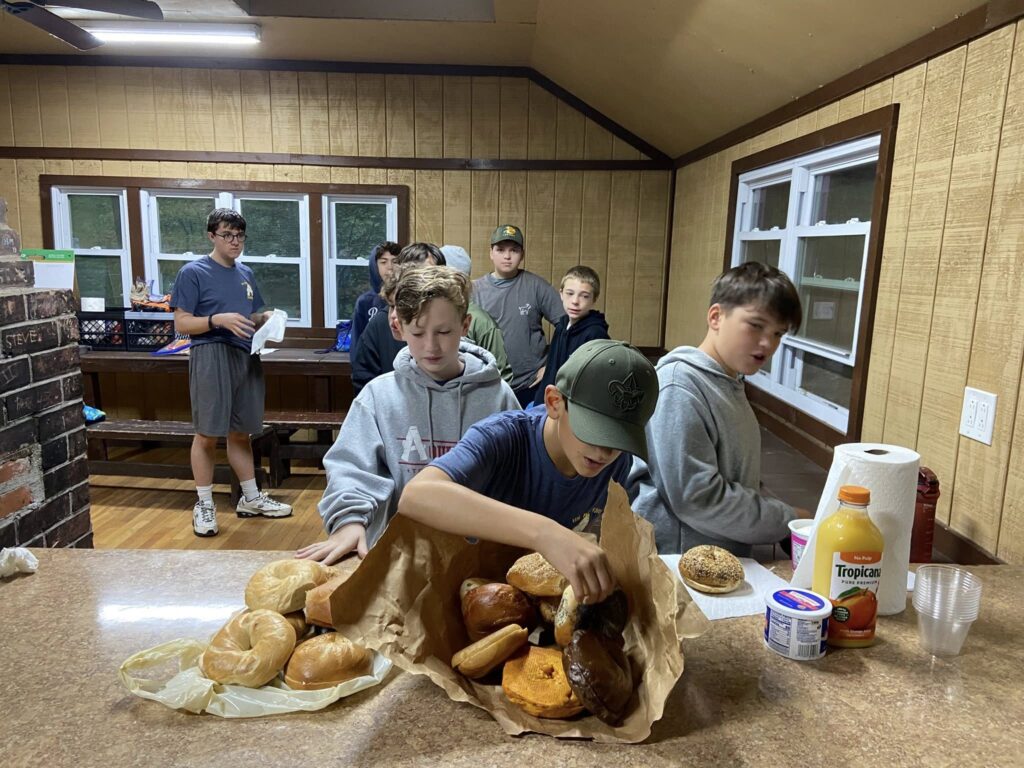
Breakfast
- Breakfast consisted of pancakes, eggs and sausages, which were mainly prepared by the adult leaders due to the time constraints. Unfortunately, the cabin was crowded, making it difficult for all Scouts to sit together simultaneously.
Clothing Check
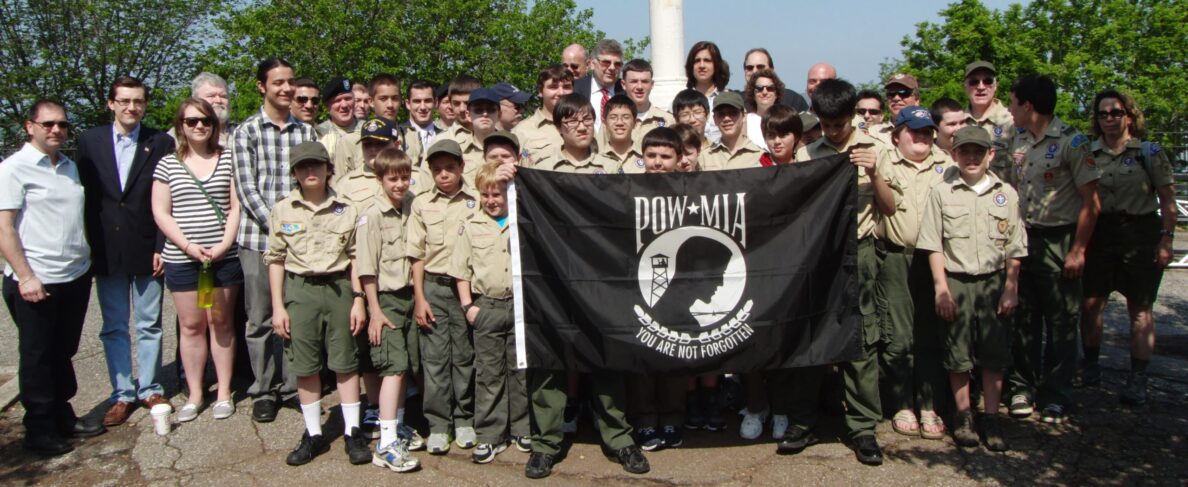
Both teams from Troop 13, the Klondike Kings and the Snow Wolves, successfully introduced themselves at the clothing check and were able to continue the sledge race.
Notes
- Always know where all of your supplies are located as you are packing. Since all of us were searching for our gear on Saturday morning in a cramped cabin, it was overwhelming to pack quickly for the race.
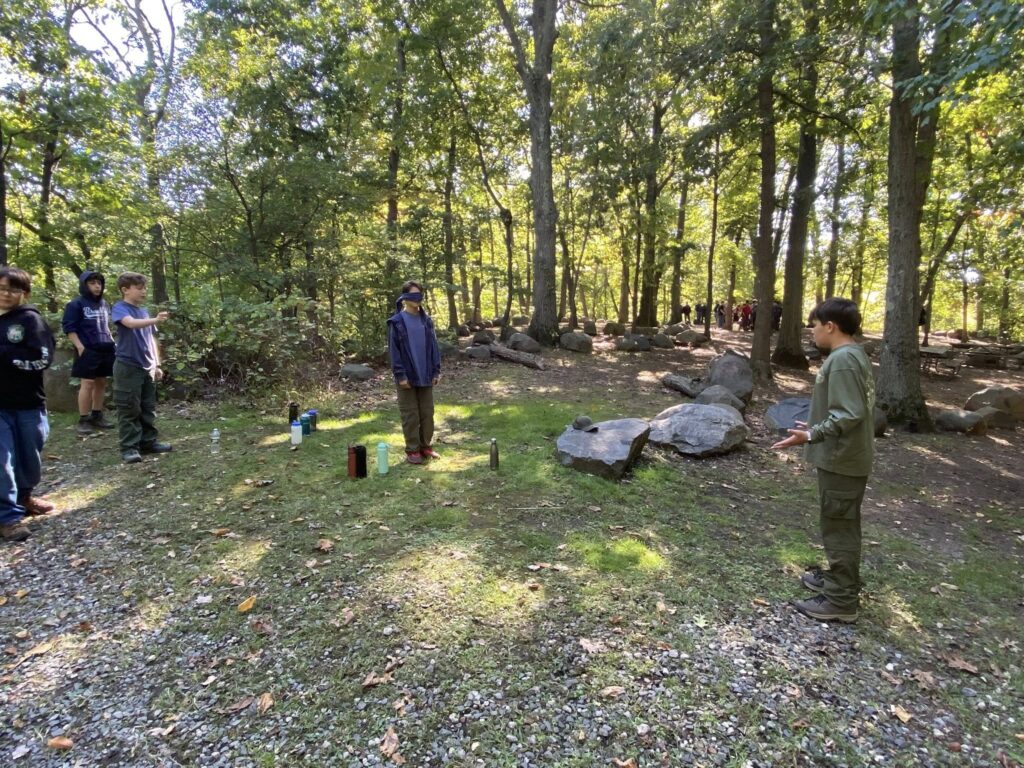
Orienteering
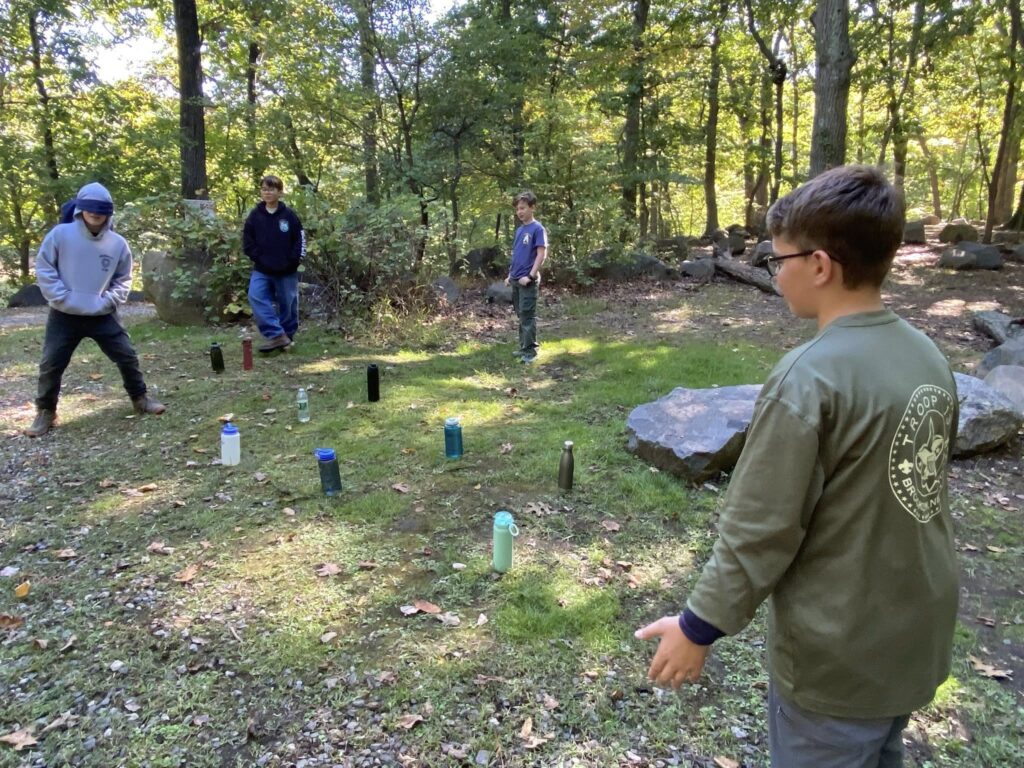
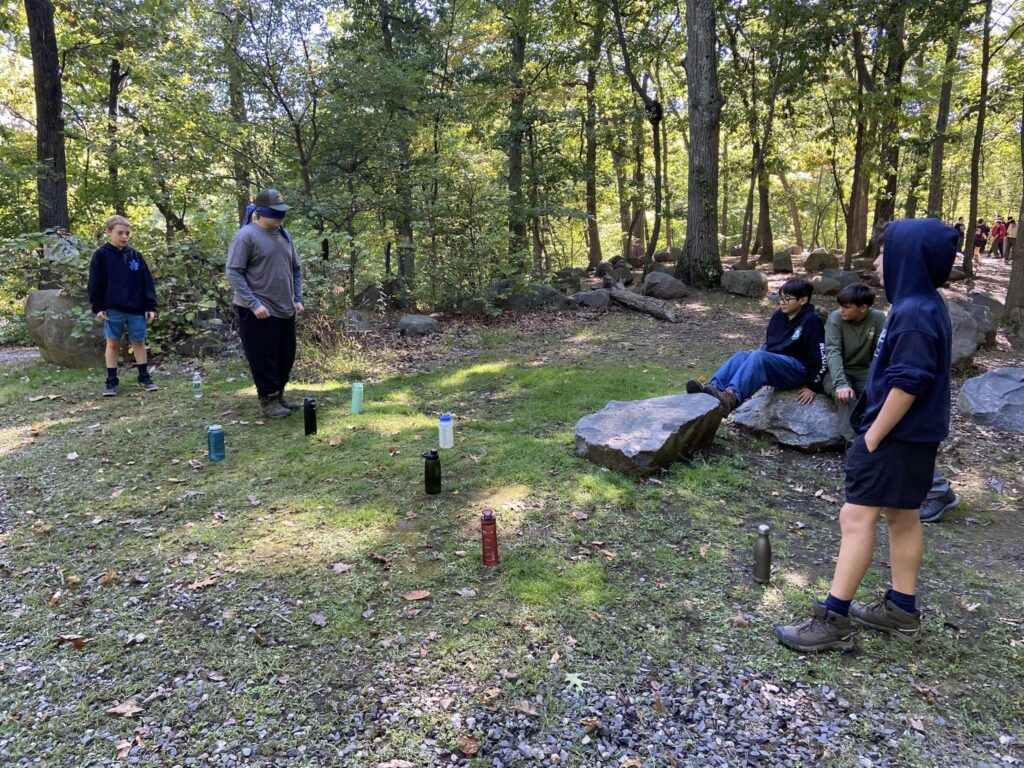
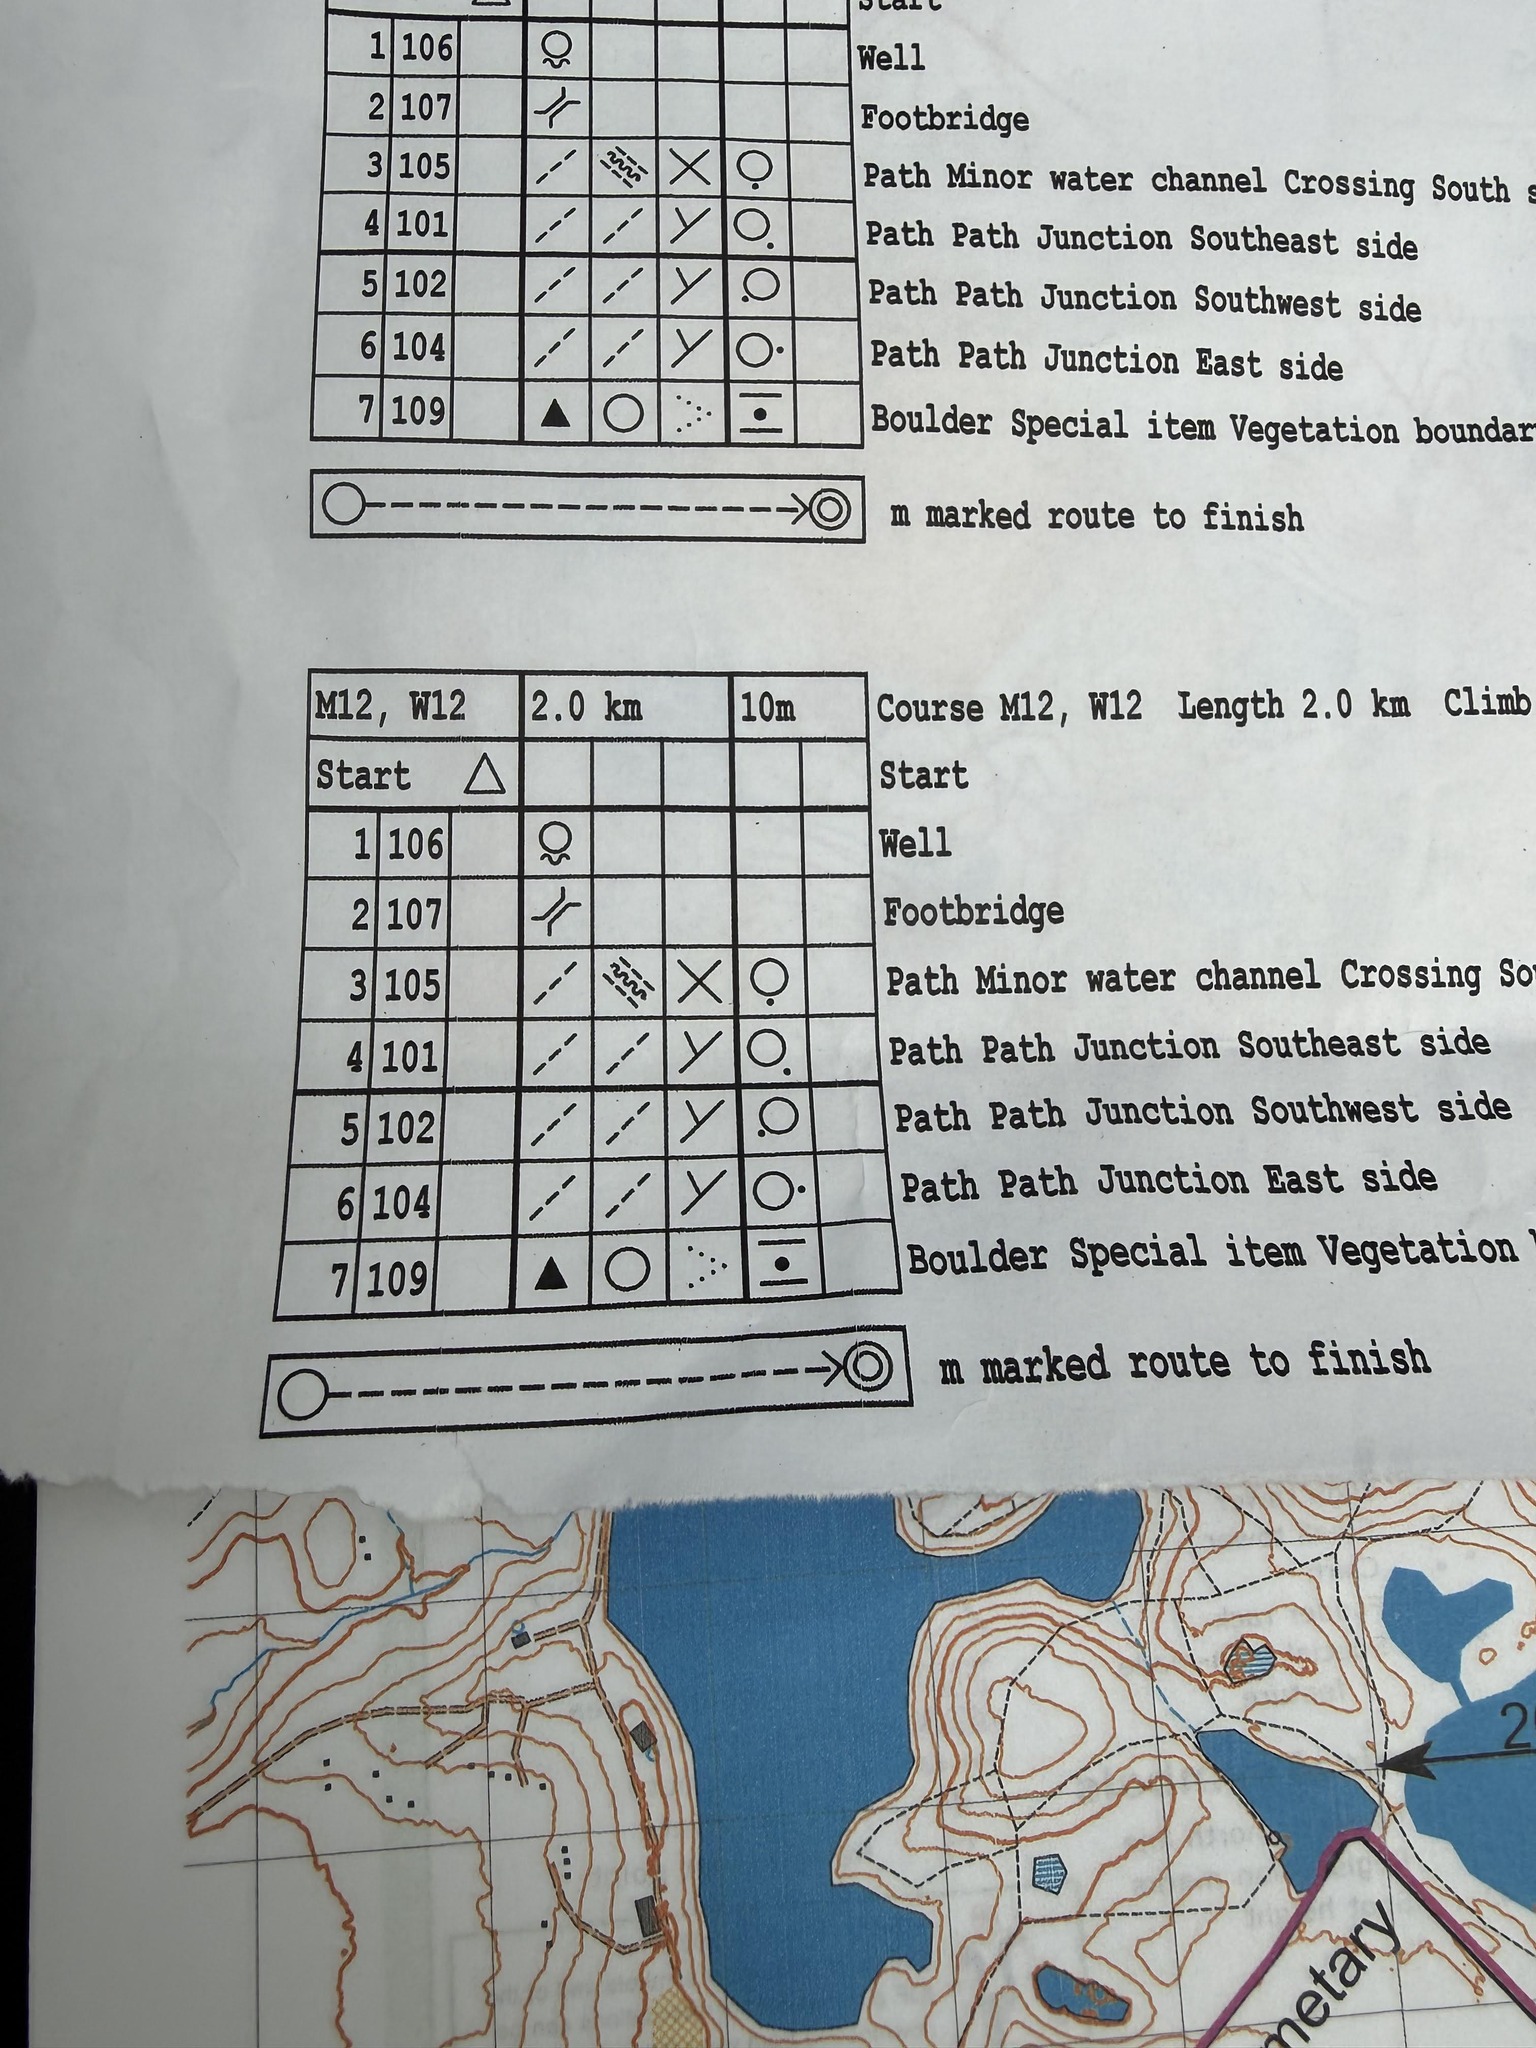
The first part of the orienteering station focused on using a rope to navigate a path in white-out conditions, while using a compass to determine distance and direction. Then, the teams were tasked to plot an orienteering course using a map, indicating compass bearings and distance.
Notes
- The Klondike Kings completed the course, demonstrating proper angle calculations and other essential orienteering skills!
- Always set the compass declination to determine the angular difference between true north and magnetic north. Manual calculation is more likely to lead to human error.
- Make sure that multiple Scouts measure the map in case of disagreement. While the Snow Wolves received a perfect score for the path, their map distances were ten times larger due to a simple decimal point error. As the Mayor explained, small errors in calculations can sometimes “snowball” the team. Were this to have been applied in the field, the Snow Wolves would have been stranded! Ultimately, their score was 15.5 out of21.
Shelter Building
At the shelter building station, the teams were tasked with constructing a shelter using rope, a tarp and two trees.
Notes
- Make an advanced plan for shelter building prior to the competition. During the original planning stages, a brief argument broke out among the Snow Wolves about whether to copy the model used at Clear Lake, or the structure that was practiced at Owl’s Head Park prior to this trip. Ultimately, the younger scouts decided they were more familiar with the Clear Lake shelter, which did not work out as planned. The shelter was held up by a stick in the middle, leading the judge to ask which one of them would want the job of stabilizing the stick during the night.
- Congratulations to the Klondike Kings for following all of the instructions and receiving a perfect score in this station!
- Always place the sleeping bag in the shelter after it is constructed. This will show the judges that the teams would be prepared to remain in the shelter for a prolonged amount of time.
Trail Lunch
At noon, our teams were required to remain at the “city” in which they were located to make a lunch of Cup O’ Noodles. Fires were built to boil a pot of water for the ramen.
Notes
- For both teams, the greatest struggle was building a fire. Due to the snowy environment and subzero temperature, the environment lacked the necessary heat to start a fire, causing a delayed lunch.
First Aid
At the first aid city, the teams were presented with a scenario where one of their fellow Scouts was chosen as a victim. This year, the victim had a crushed leg that was impacted by a heavy object.
Notes
- Designate a patrol safety leader to ensure that no other team members are cold during the process. Although the victim is the main priority, it is also essential to look out for the rest of the team.
- Emphasize first aid knowledge during practice. As the Snow Wolves were handling the victim, the victim was improperly lifted onto the sledge for transportation. He ended up with three broken bones and a concussion!
- After treating the victim, send at least two Scouts for help if emergency services cannot be called. While it was verbalized that there was no cellular service in the area, no Scouts were sent for help, causing the Snow Wolves to lose points.
- The Klondike Kings effectively demonstrated the necessary cooperation and handling of the victim for this station.
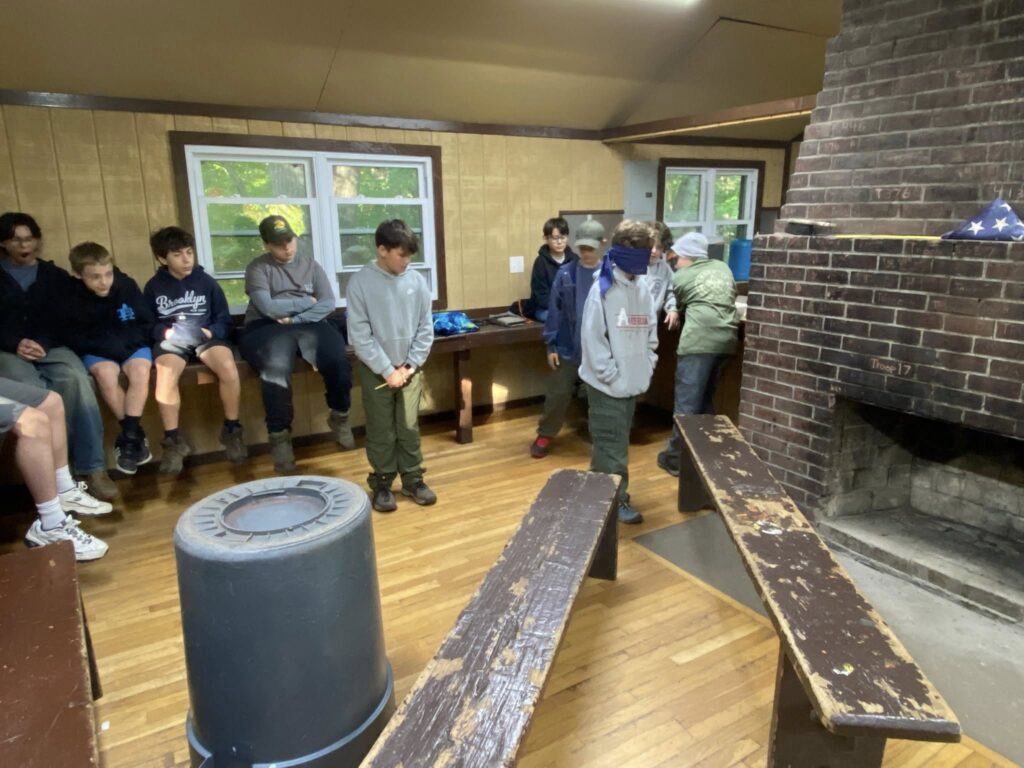
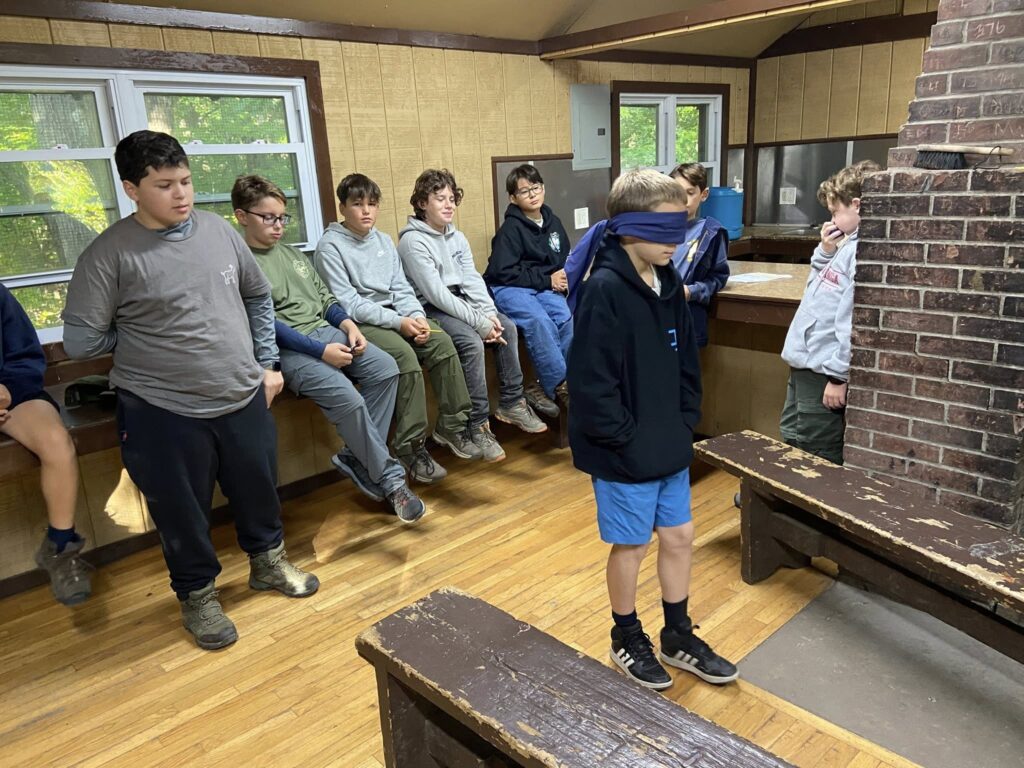
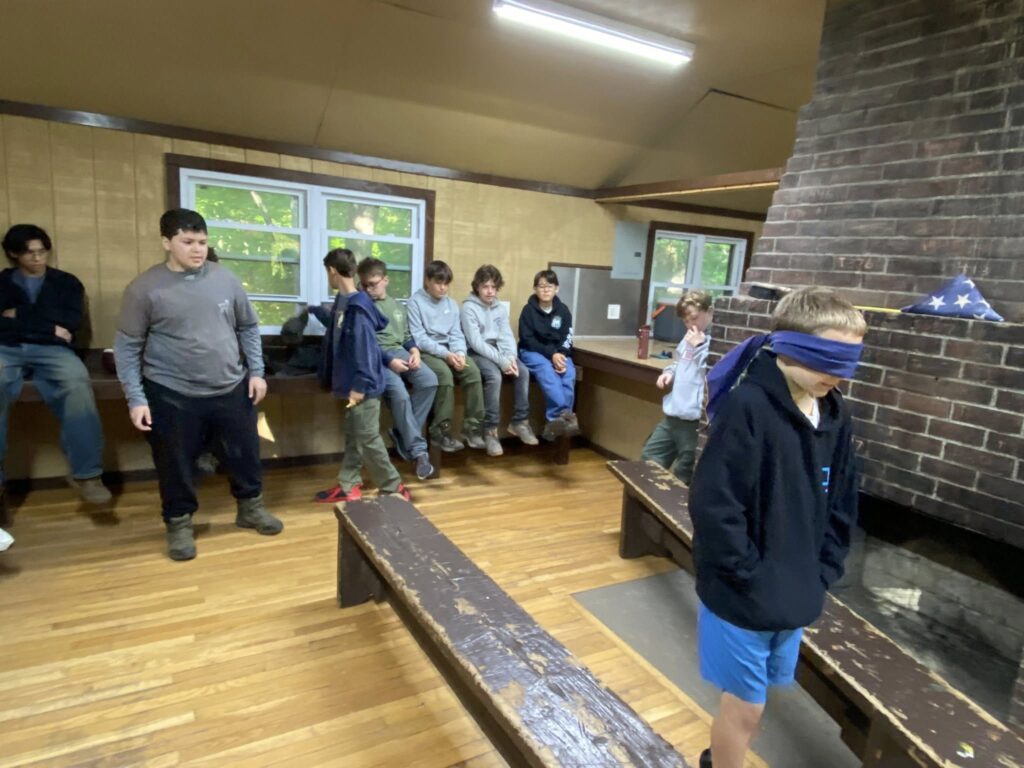
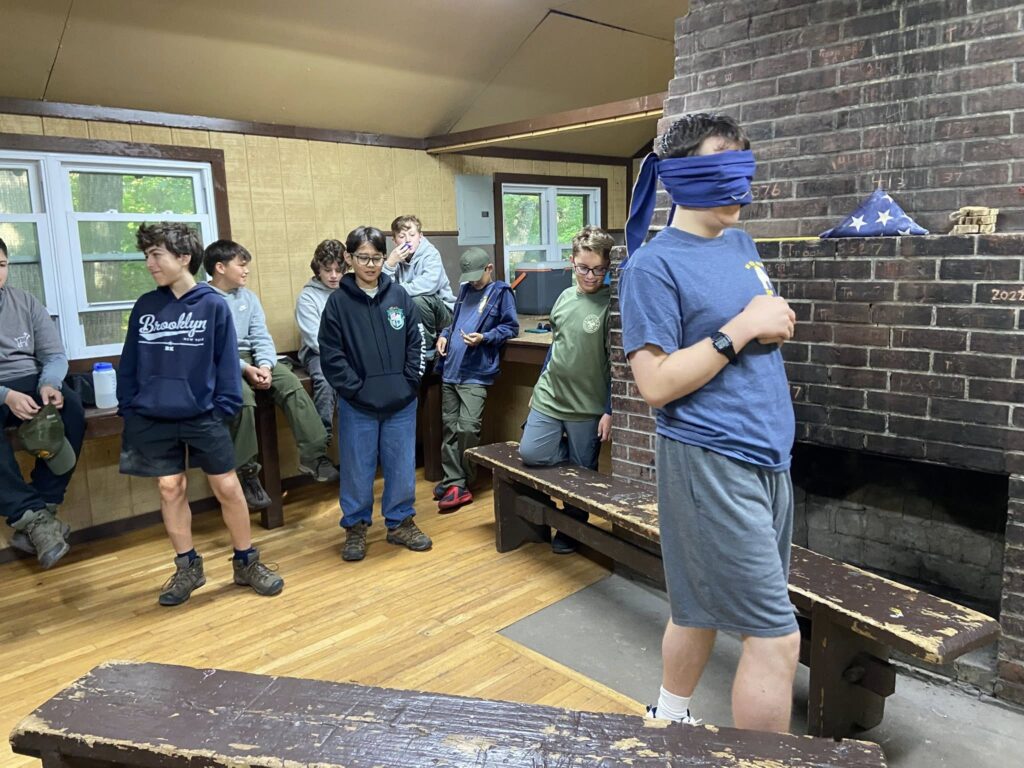
Ice Water Rescue
The ice water rescue station, which had been constantly prepared for by Troop 13, involved rescuing a victim who had fallen into frozen water. After the judge randomly chose a victim, the team was tasked with rescuing and warming him.
Notes
- Get the victim out of the water as fast as possible! For the Snow Wolves, who struggled to throw the rope toward the victim, it took approximately eight minutes to bring the victim to the shoreline. Their victim had been “killed” three times before he was actually rescued!
- Be careful with all ice rescue equipment. The Klondike Kings accidentally tossed the bag into the water area, causing them to lose points.
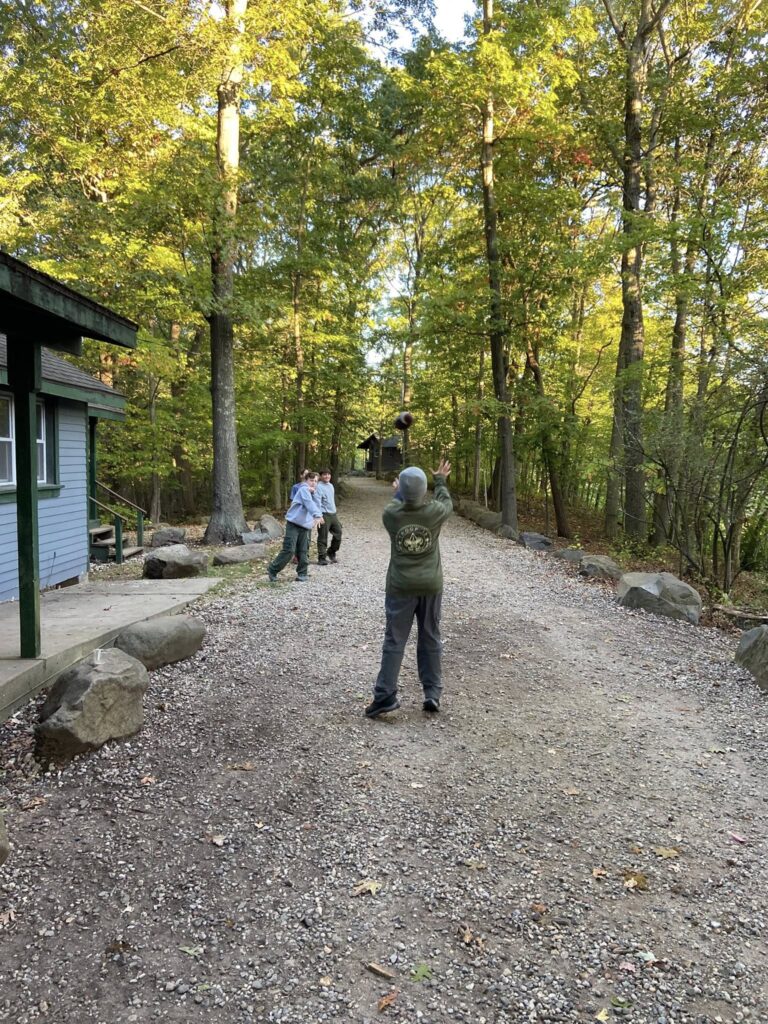
Sledge Race
For the sledge race, each sledge was emptied of Patrol gear and loaded with a 35-pound weight. Each Scout had to cross the finish line while racing with the sledge.
Notes
- Prepare for the sledge race with sprinting or jogging before the Klondike Derby. If one Scout is not physically fit for the race, he could directly cost the team points.
- The Snow Wolves crossed the finish line with a time of 3:54, experiencing exhaustion while running in subzero temperatures.
- The Klondike Kings demonstrated great teamwork as they worked to cross the finish line. However, the Kings were penalized due to the fact that some of the younger Scouts fell behind and/or were walking during the race.
Fire Building
The teams were tasked with building a fire, with matches provided by the judges. Using the fire, Scouts were required to boil a pot of water. Once the judge decided that the pot was “boiling”, the team had completed the station.
Notes
- The Klondike Kings were unable to build a fire because of the subzero temperature. They were ultimately awarded six points for their efforts.
- Since the Snow Wolves did not have enough time to complete the fire building course before the race ended, they were only awarded four points for safe arrival and patrol spirit.
Crossing the Finish Line
After the teams had completed every station, they had to race to the finish line to end the competition.
Notes
- Always keep track of equipment and check the sledge first if anything appears to be lost. At one point during the Snow Wolves’ race, the scorecard was misplaced, leading both team leaders to anxiously search for it. Both the team leader and his assistant assumed that it had fallen off the sled somewhere between the sledge race and the first aid station. However, it had fallen between the equipment bins and the sledge’s edge. If the scorecard had been found sooner, the Snow Wolves may have been able to complete the fire building station.
- The Klondike Kings finished with twenty minutes to spare!
- The Snow Wolves crossed the finish line at 4:27 p.m.—three minutes before the race closed!
- This has been the second year that both teams from Troop 13 crossed the finish line!
Departure
In accordance with the major snowstorm forecast, the team left on Saturday after the Derby was completed. All Scouts arrived home safely before the snowstorm.
Looking forward
Congratulations to Troop 13’s Klondike Kings and Snow Wolves for completing the coldest Klondike Derby in the history of Camp Wakpominee. Hopefully, the mishaps that occurred during the trip will allow us to improve on our previous mistakes and prepare duly for the next Klondike Derby. The troop looks forward to their next trip to Camp Pouch in March!Klondike Derby
01.23.2026-01.24.2026
─
Agenda
Unpack and set up camp
- Since the drive to Camp Wakpominee took more than four hours, all Scouts left directly from their homes, rather than meeting at the St. Anselm’s Parking Lot. Due to the capacity of the cabins, our troop was spread out across two cabins. After setting up our cots, the adult leaders began to prepare breakfast, since we needed to wake up at 6:00 a.m. to prepare for the following day’s competition.
Breakfast
- Breakfast consisted of pancakes, eggs and sausages, which were mainly prepared by the adult leaders due to the time constraints. Unfortunately, the cabin was crowded, making it difficult for all Scouts to sit together simultaneously.
Clothing Check
Both teams from Troop 13, the Klondike Kings and the Snow Wolves, successfully introduced themselves at the clothing check and were able to continue the sledge race.
Notes
- Always know where all of your supplies are located as you are packing. Since all of us were searching for our gear on Saturday morning in a cramped cabin, it was overwhelming to pack quickly for the race.
Orienteering
The first part of the orienteering station focused on using a rope to navigate a path in white-out conditions, while using a compass to determine distance and direction. Then, the teams were tasked to plot an orienteering course using a map, indicating compass bearings and distance.
Notes
- The Klondike Kings completed the course, demonstrating proper angle calculations and other essential orienteering skills!
- Always set the compass declination to determine the angular difference between true north and magnetic north. Manual calculation is more likely to lead to human error.
- Make sure that multiple Scouts measure the map in case of disagreement. While the Snow Wolves received a perfect score for the path, their map distances were ten times larger due to a simple decimal point error. As the Mayor explained, small errors in calculations can sometimes “snowball” the team. Were this to have been applied in the field, the Snow Wolves would have been stranded! Ultimately, their score was 15.5 out of21.
Shelter Building
At the shelter building station, the teams were tasked with constructing a shelter using rope, a tarp and two trees.
Notes
- Make an advanced plan for shelter building prior to the competition. During the original planning stages, a brief argument broke out among the Snow Wolves about whether to copy the model used at Clear Lake, or the structure that was practiced at Owl’s Head Park prior to this trip. Ultimately, the younger scouts decided they were more familiar with the Clear Lake shelter, which did not work out as planned. The shelter was held up by a stick in the middle, leading the judge to ask which one of them would want the job of stabilizing the stick during the night.
- Congratulations to the Klondike Kings for following all of the instructions and receiving a perfect score in this station!
- Always place the sleeping bag in the shelter after it is constructed. This will show the judges that the teams would be prepared to remain in the shelter for a prolonged amount of time.
Trail Lunch
At noon, our teams were required to remain at the “city” in which they were located to make a lunch of Cup O’ Noodles. Fires were built to boil a pot of water for the ramen.
Notes
- For both teams, the greatest struggle was building a fire. Due to the snowy environment and subzero temperature, the environment lacked the necessary heat to start a fire, causing a delayed lunch.
First Aid
At the first aid city, the teams were presented with a scenario where one of their fellow Scouts was chosen as a victim. This year, the victim had a crushed leg that was impacted by a heavy object.
Notes
- Designate a patrol safety leader to ensure that no other team members are cold during the process. Although the victim is the main priority, it is also essential to look out for the rest of the team.
- Emphasize first aid knowledge during practice. As the Snow Wolves were handling the victim, the victim was improperly lifted onto the sledge for transportation. He ended up with three broken bones and a concussion!
- After treating the victim, send at least two Scouts for help if emergency services cannot be called. While it was verbalized that there was no cellular service in the area, no Scouts were sent for help, causing the Snow Wolves to lose points.
- The Klondike Kings effectively demonstrated the necessary cooperation and handling of the victim for this station.
Ice Water Rescue
The ice water rescue station, which had been constantly prepared for by Troop 13, involved rescuing a victim who had fallen into frozen water. After the judge randomly chose a victim, the team was tasked with rescuing and warming him.
Notes
- Get the victim out of the water as fast as possible! For the Snow Wolves, who struggled to throw the rope toward the victim, it took approximately eight minutes to bring the victim to the shoreline. Their victim had been “killed” three times before he was actually rescued!
- Be careful with all ice rescue equipment. The Klondike Kings accidentally tossed the bag into the water area, causing them to lose points.
Sledge Race
For the sledge race, each sledge was emptied of Patrol gear and loaded with a 35-pound weight. Each Scout had to cross the finish line while racing with the sledge.
Notes
- Prepare for the sledge race with sprinting or jogging before the Klondike Derby. If one Scout is not physically fit for the race, he could directly cost the team points.
- The Snow Wolves crossed the finish line with a time of 3:54, experiencing exhaustion while running in subzero temperatures.
- The Klondike Kings demonstrated great teamwork as they worked to cross the finish line. However, the Kings were penalized due to the fact that some of the younger Scouts fell behind and/or were walking during the race.
Fire Building
The teams were tasked with building a fire, with matches provided by the judges. Using the fire, Scouts were required to boil a pot of water. Once the judge decided that the pot was “boiling”, the team had completed the station.
Notes
- The Klondike Kings were unable to build a fire because of the subzero temperature. They were ultimately awarded six points for their efforts.
- Since the Snow Wolves did not have enough time to complete the fire building course before the race ended, they were only awarded four points for safe arrival and patrol spirit.
Crossing the Finish Line
After the teams had completed every station, they had to race to the finish line to end the competition.
Notes
- Always keep track of equipment and check the sledge first if anything appears to be lost. At one point during the Snow Wolves’ race, the scorecard was misplaced, leading both team leaders to anxiously search for it. Both the team leader and his assistant assumed that it had fallen off the sled somewhere between the sledge race and the first aid station. However, it had fallen between the equipment bins and the sledge’s edge. If the scorecard had been found sooner, the Snow Wolves may have been able to complete the fire building station.
- The Klondike Kings finished with twenty minutes to spare!
- The Snow Wolves crossed the finish line at 4:27 p.m.—three minutes before the race closed!
- This has been the second year that both teams from Troop 13 crossed the finish line!
Departure
In accordance with the major snowstorm forecast, the team left on Saturday after the Derby was completed. All Scouts arrived home safely before the snowstorm.
Looking forward
Congratulations to Troop 13’s Klondike Kings and Snow Wolves for completing the coldest Klondike Derby in the history of Camp Wakpominee. Hopefully, the mishaps that occurred during the trip will allow us to improve on our previous mistakes and prepare duly for the next Klondike Derby. The troop looks forward to their next trip to Camp Pouch in March!